Let’s turn our attention to the task of setting up an online project with all the bells and whistles. As you’ve no doubt discovered by now, there is no such thing as a free lunch, so the enviable time saving you can expect from templates comes with a price: you need to be able to set up one, and provide the zillion settings that make up a memoQ project.
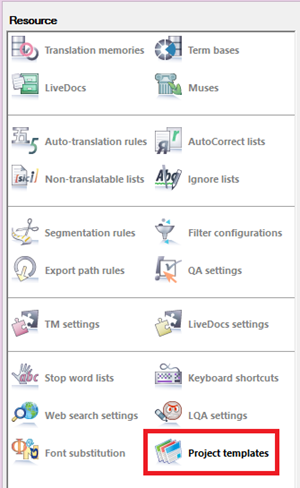
You start by opening the Resource Console, and clicking on the last, new resource type, Project templates:

You can create a new one and then edit it, just like you do with any other resource.
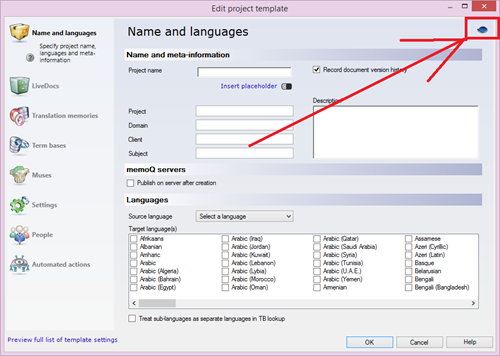
When you start editing a project template, it will by default be a local or online template depending on whether it's stored on your computer or a memoQ server. However, it is very easy to switch between local and online project settings: just click the eye-shaped icon at the top right corner of the template editor window:

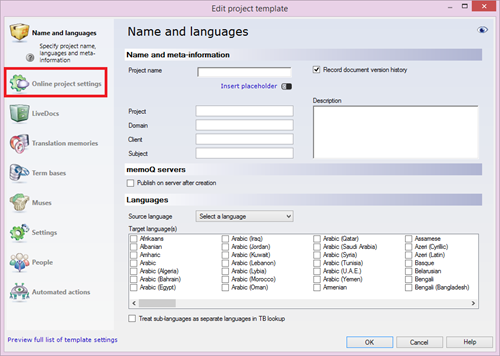
If you click it when editing a local template, you get a new category, Online project settings, and some other settings in the already seen categories – in particular, the automation options – are expanded:

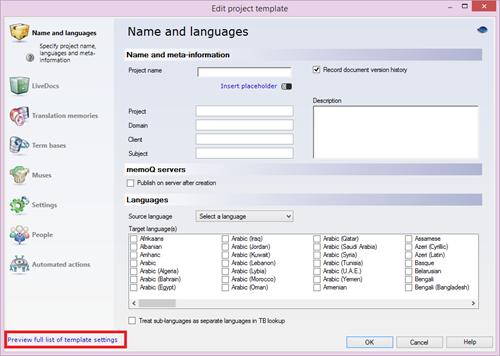
Another handy feature of this dialog is the “Preview full list of template settings” link at the bottom of the window:

Clicking on it will open an HTML page which is suspiciously similar in design to the project settings pages, and there is a reason for it – when you ultimately create a new project from your template, you’ll be able to see the very same settings in the project management interface. This is how the page looks like when invoked from the template editor:

And this is the same page in the project management interface:

Quite dense, we know, and a surprising amount of time went into designing it, trying to fit it into as little space as possible, while still allowing the PM to quickly find any setting. Looking at this page reminds you of all the things memoQ is capable of - amazing, isn't it?

memoQ
memoQ is among the world's leading translation management systems. The favorite productivity tool for translation professionals around the globe.


